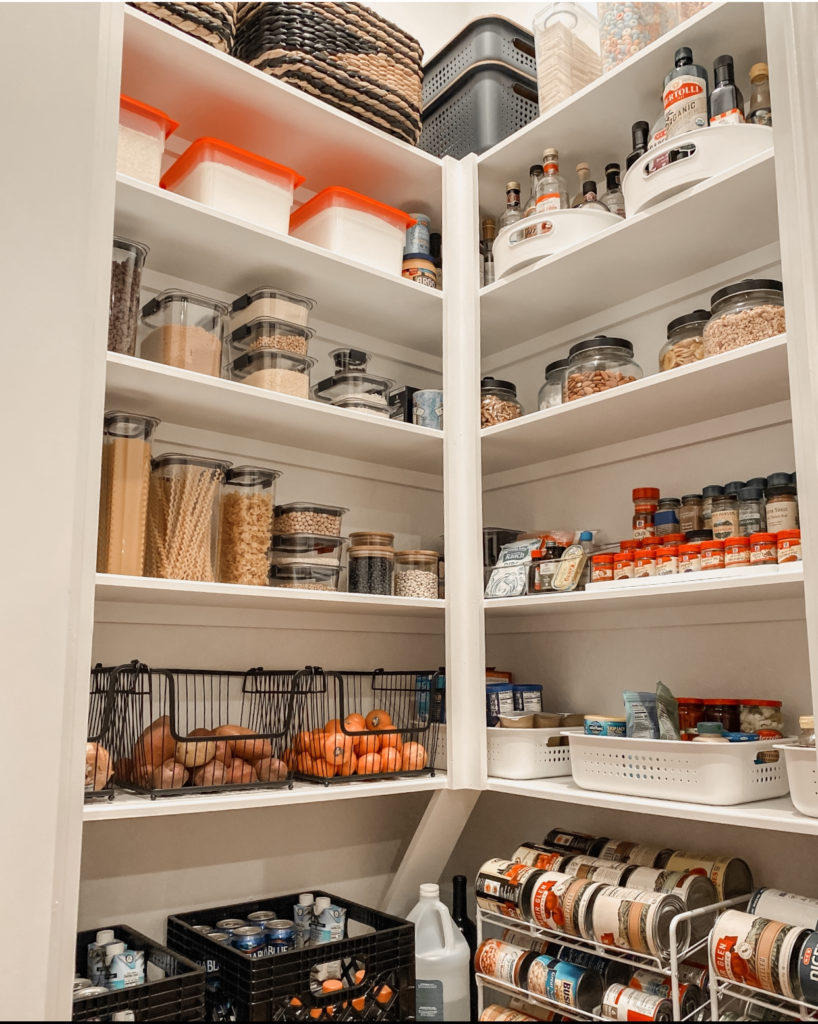
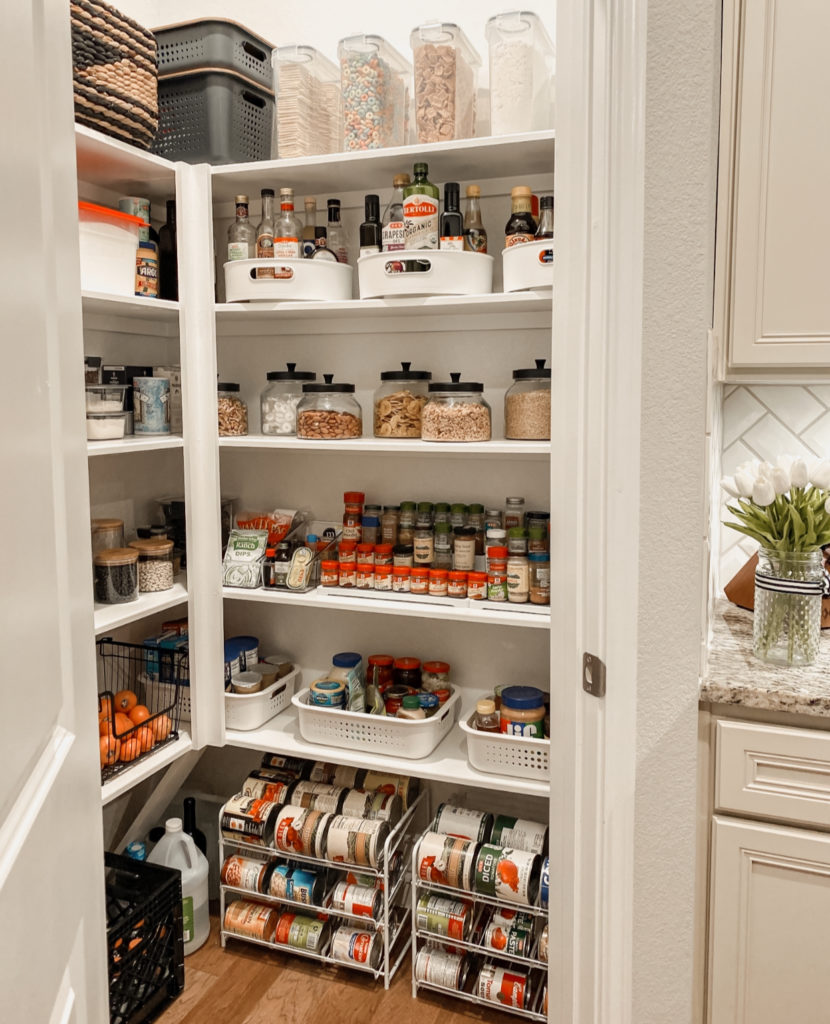
It’s been months since I organized our pantry. And while it took me a while to get started, I’m so happy I completed this project! Because not only is it nice to look at every time I go in there, but it’s stayed organized! So if you’ve been wanting to organize YOUR pantry too, today I’m giving you 10 practical tips to an organized pantry!
[post contains affiliate links; if you click-through and make a purchase I may be compensated.]
You can see our completely finished and organized pantry in my YouTube video below:
10 Tips To An Organized Pantry
1. Gather Inspiration
Before you start buying items to organize your pantry, I recommend you scroll Pinterest or Instagram to find ideas and inspiration. This was the first thing I did. I quickly narrowed down the color palette I was looking for, and saved images that had pantries in similar size to mine or had decor that interested me.
This was very helpful in figuring out what I liked and didn’t like. And it also helped me visualize how everything would look together.
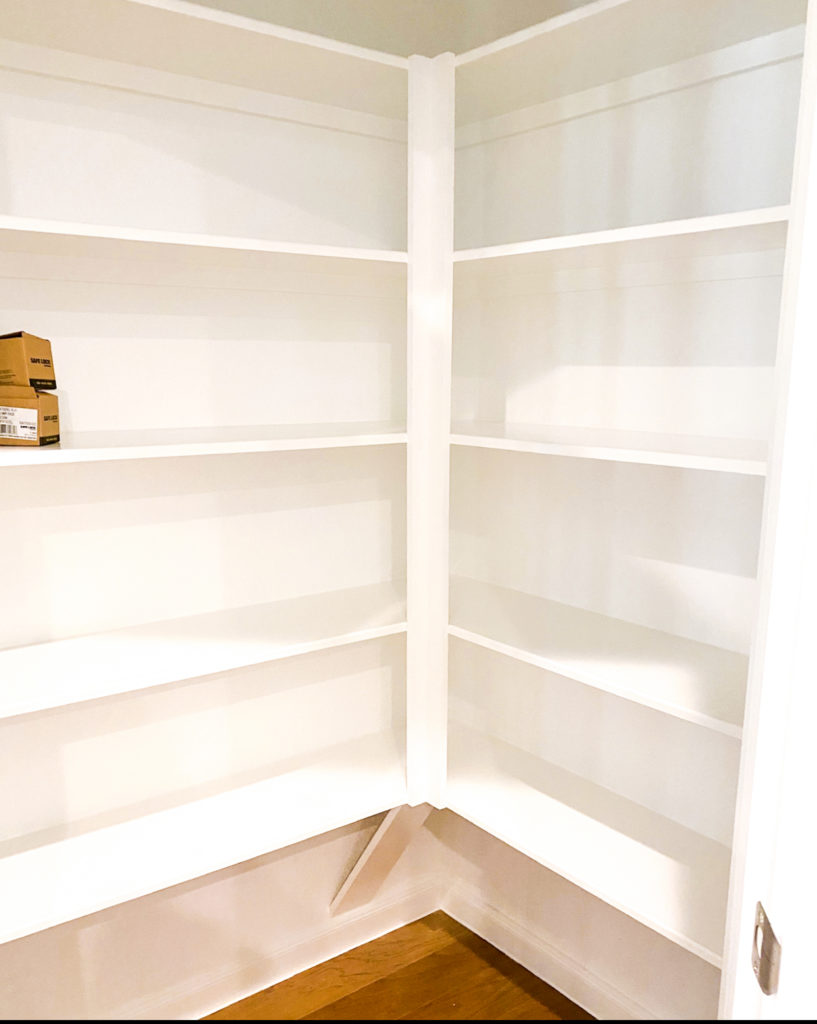
2. Start with a clean slate : Take everything out of your pantry
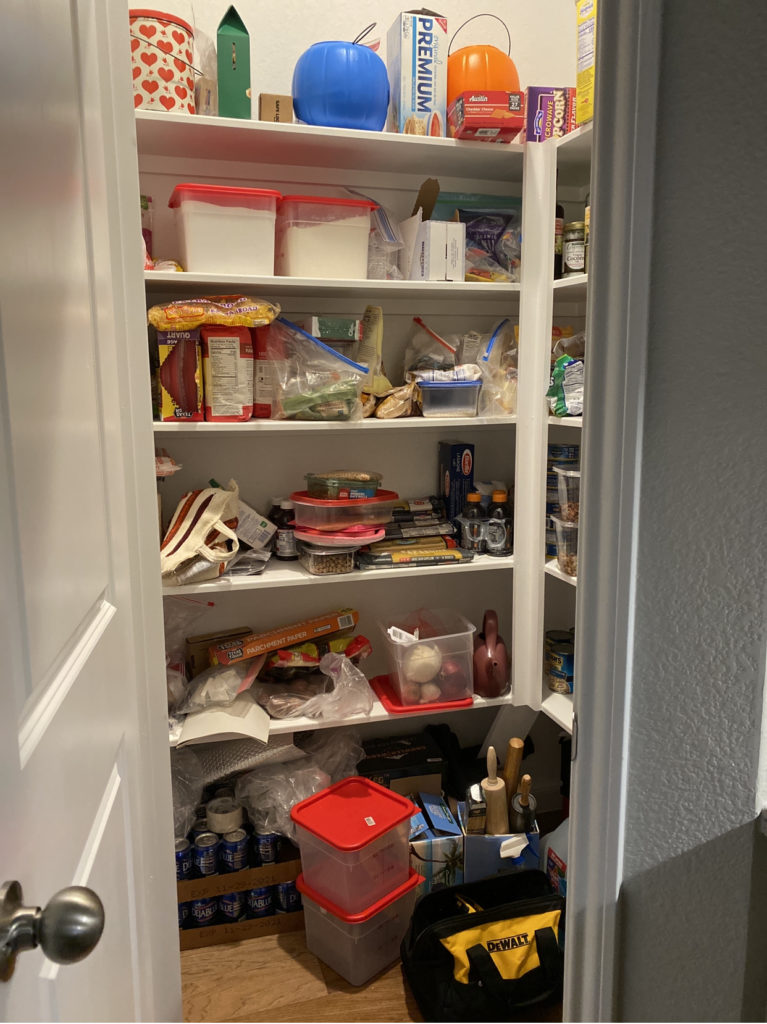
Our pantry was in desperate need of some organizing. Since we first moved into our house, everything seemed to collect in the pantry. When the New Year came and I noticed HALLOWEEN BASKETS still in there, I knew it was time to take action!
I emptied out the pantry completely.
Then I put things back that belonged in the pantry and that weren’t expired.
I was able to see exactly what needed to be grouped together and organized. This prevented me from buying unnecessary storage items.
3. Measure and line shelves
Do as I say, not as I do here. LOL. I had all good intentions of lining the shelves before buying the pantry organizers.
But I got excited and well . . . I still haven’t done it.
Swear I’m planning to! My shelves have started to get marked up and lining them is a great way of keeping them protected.
Also, when purchasing items for the pantry, check the measurements of the containers you want to use, and see if they’ll fit on your shelves.
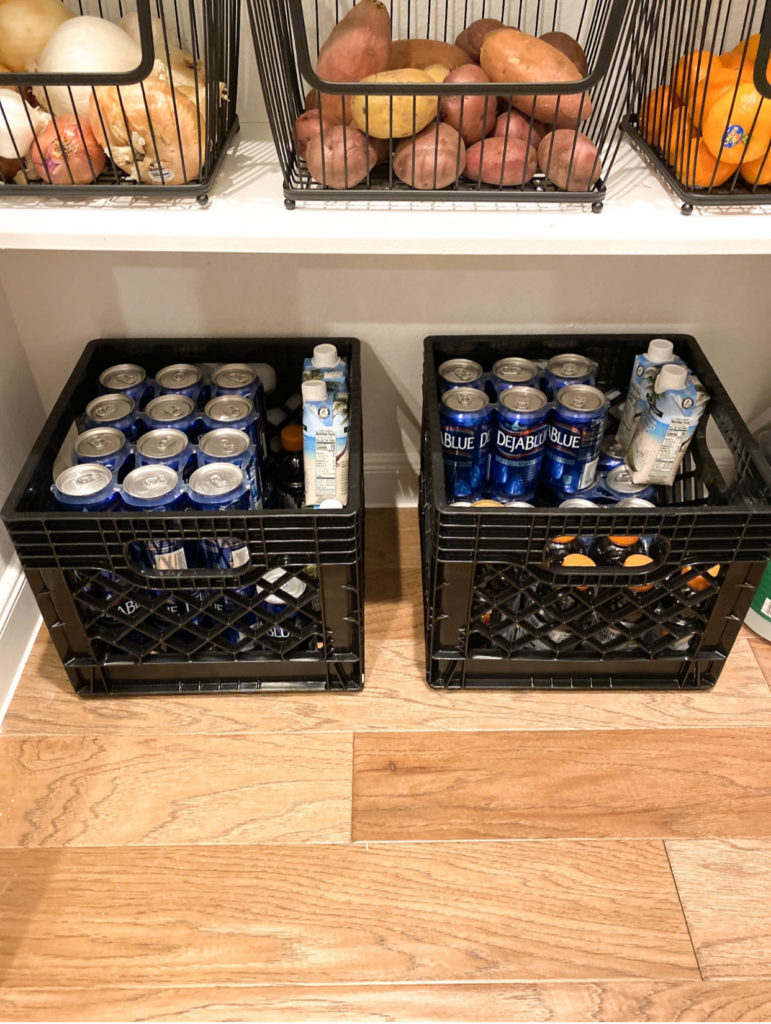
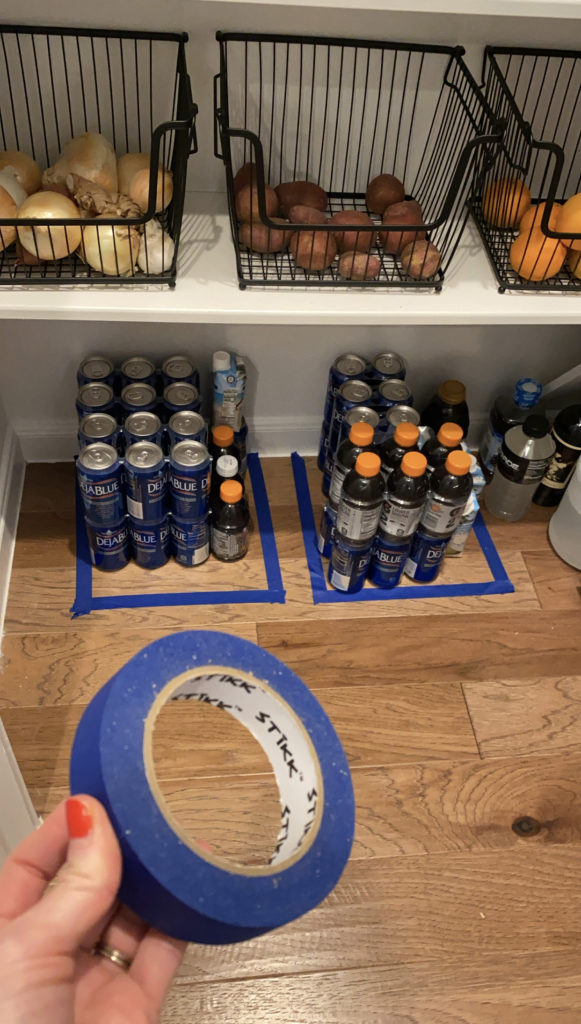
This really helped me when deciding on the correct size bins, as well as making sure the milk crates fit on the floor below the bottom shelf.
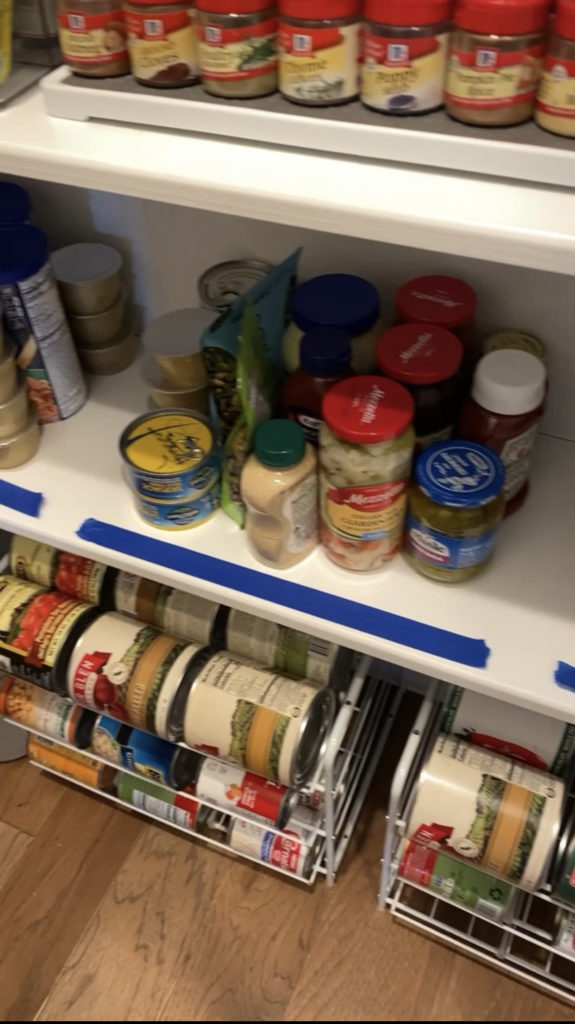
Painters tape worked great for me and I recommend you do the same. It gives you a great visual without sticking to your shelves, walls and floors.
4. Start with one item and go from there
When I first thought about organizing our pantry, I was overwhelmed and didn’t know where to begin.
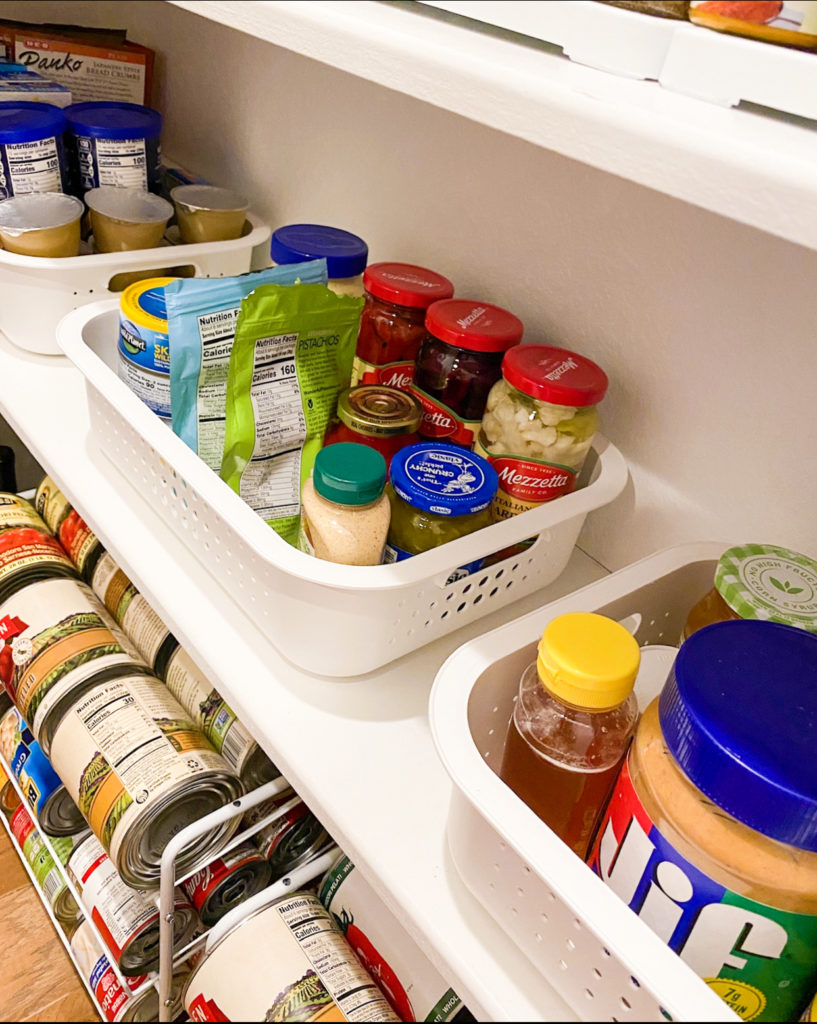
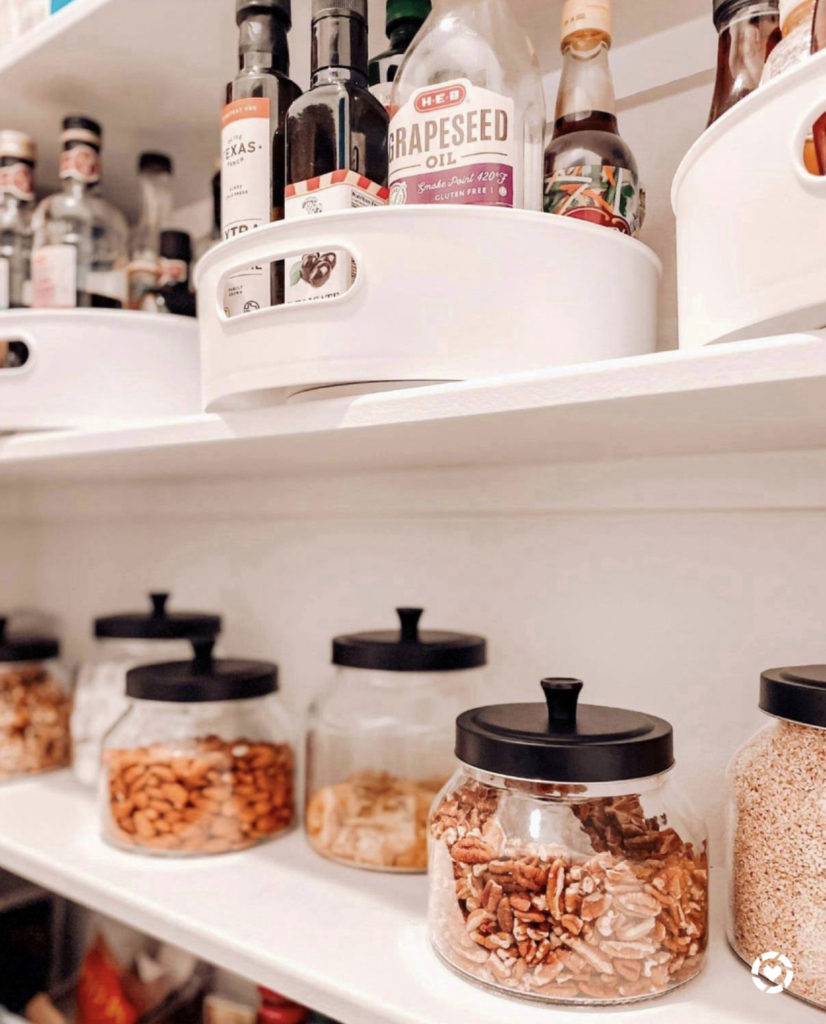
Then when I saw these turntables on sale, I ordered three of them because I’d already grouped items together and knew we could use them.
We have vinegars in one turntable, oils in another, and sauces and syrup in the third.
Just getting started is the hardest part. You don’t have to get everything at once.
And you can acquire them slowly if you want to take your time organizing.
So starting with one item that you know you could use is super helpful and will get the ball rolling with your project.
turntables | clear jars w/ black lids 70 oz & 55 oz
5. Make things easy to reach
It’s so nice to be able to see everything and know where everything is in the pantry.
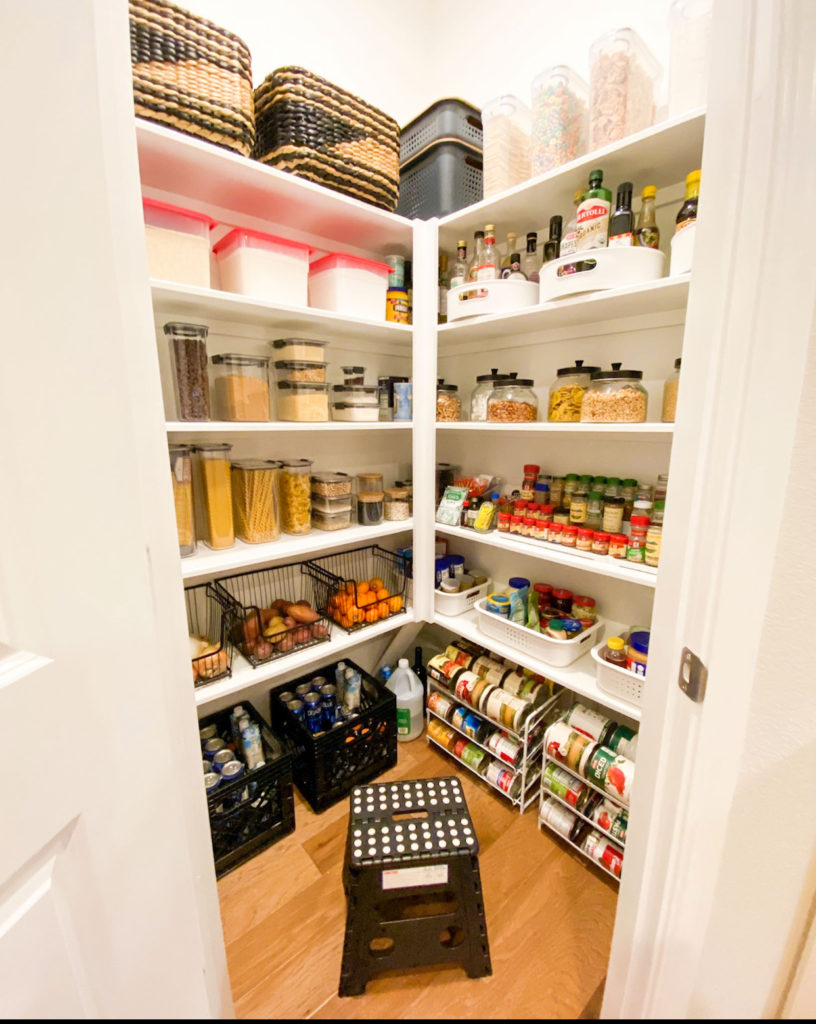
What really saves time is having things within reach when you need them. I placed the items I use the most within reach, and the items we use less, on the very top shelves.
This collapsible step stool comes in handy for reaching those.
6. Group similar items together
We serve our kids oatmeal most days of the week. So we grouped the steel cut oats, the granola, and any type of nuts that we use to make their oatmeal bowls together.
These items are kept on the same shelf in the clear jars with black lids (55 oz & 70 oz), which makes preparing breakfast much simpler and easier. We don’t have to hunt all over the pantry for anything.
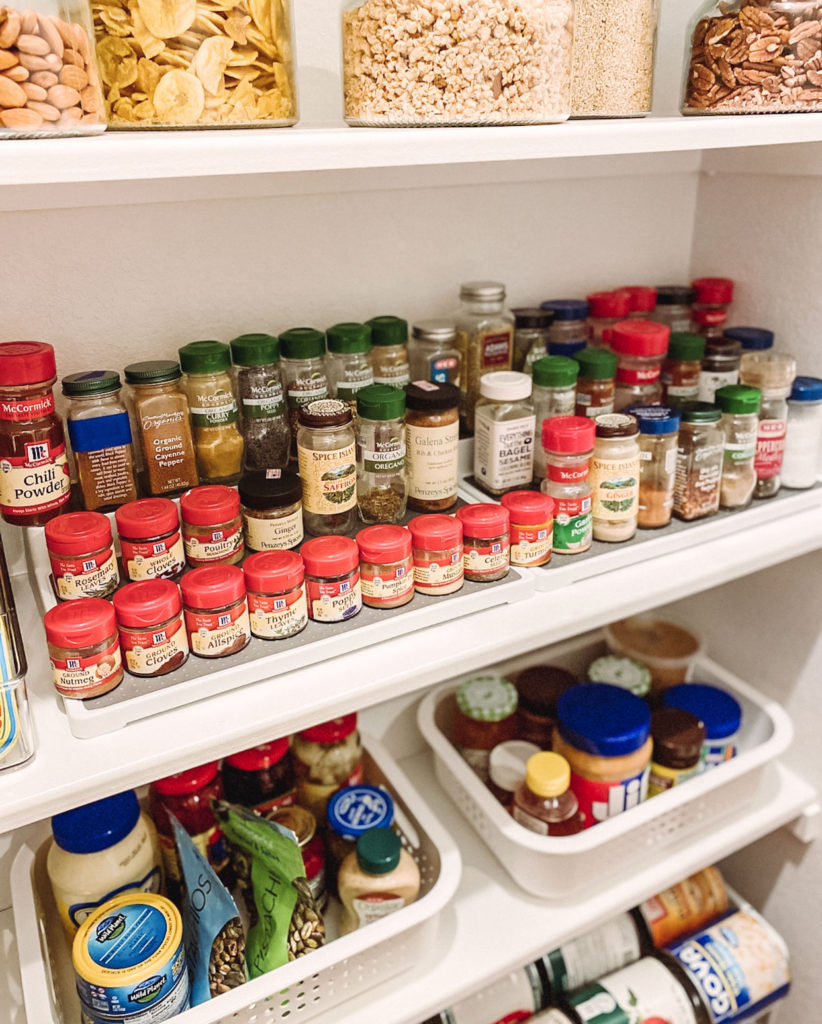
Spices are all together on a tiered rack.
And these white plastic bins hold items with similar uses. One contains most of the condiments we use, and the other holds peanut butters and jellies, fluff and Nutella for making lunches.
clear jars w/black lids 70 oz | 55oz | spice rack | white plastic bins | can organizer
7. Make sure your pantry is functional not just pretty
We wanted a pantry that looked nice, but that functioned for our needs. I’ve seen so many pretty pictures of jars filled with different candies and perfectly stacked cookies. But the reality is, we don’t buy those items that much.
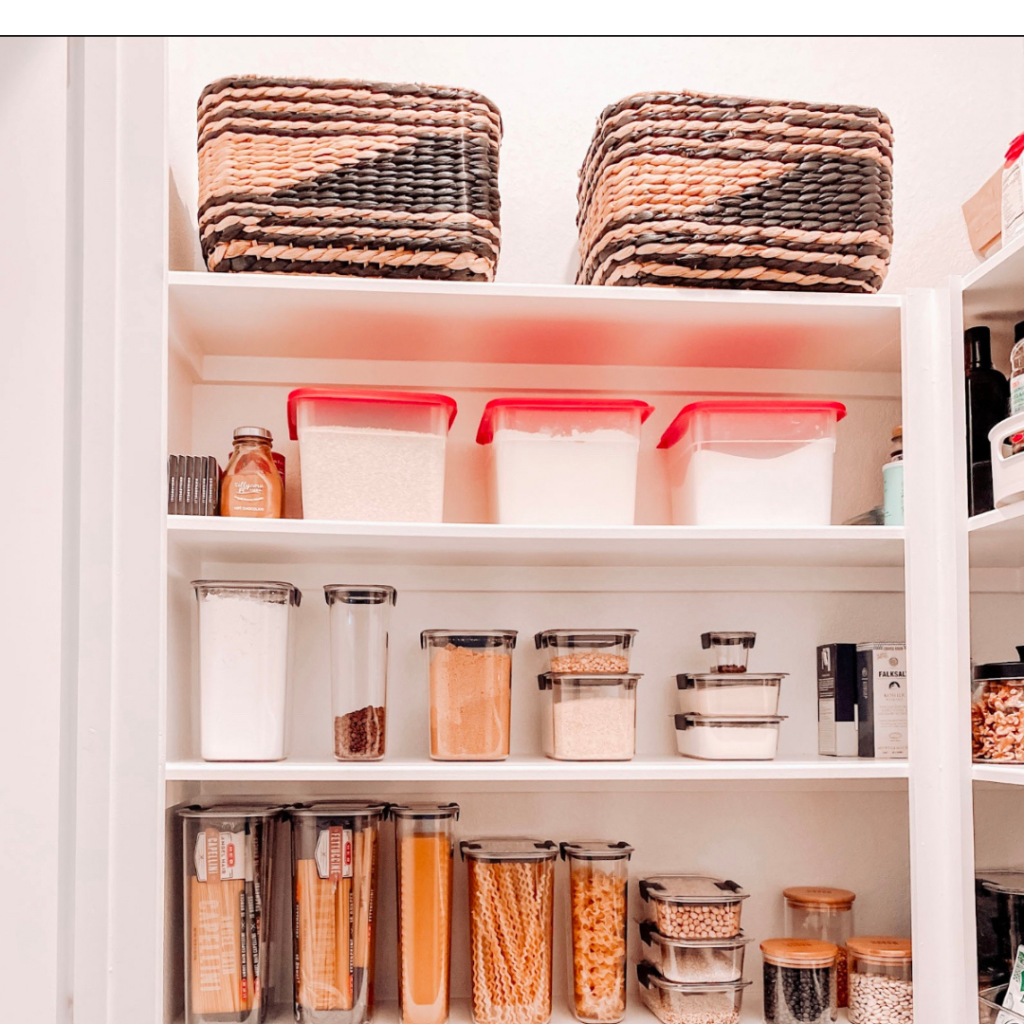
A priority for us was buying containers that kept our baking ingredients and pasta and beans in well sealed containers that kept them fresh. Those, along with the items mentioned above for our oatmeal bowls are the things we use most.
We organized the pantry in a way to make it easier to find and use the items we use daily.
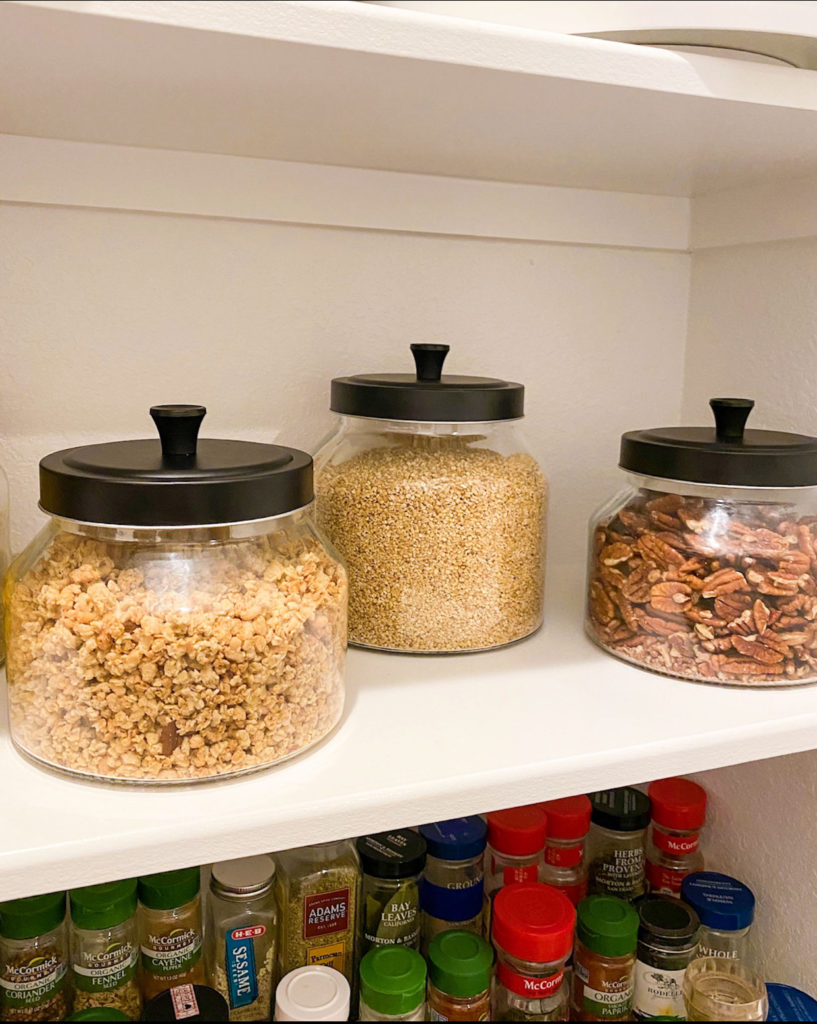
glass jars w/ black lids 70 oz | glass jars w/lids 55 oz
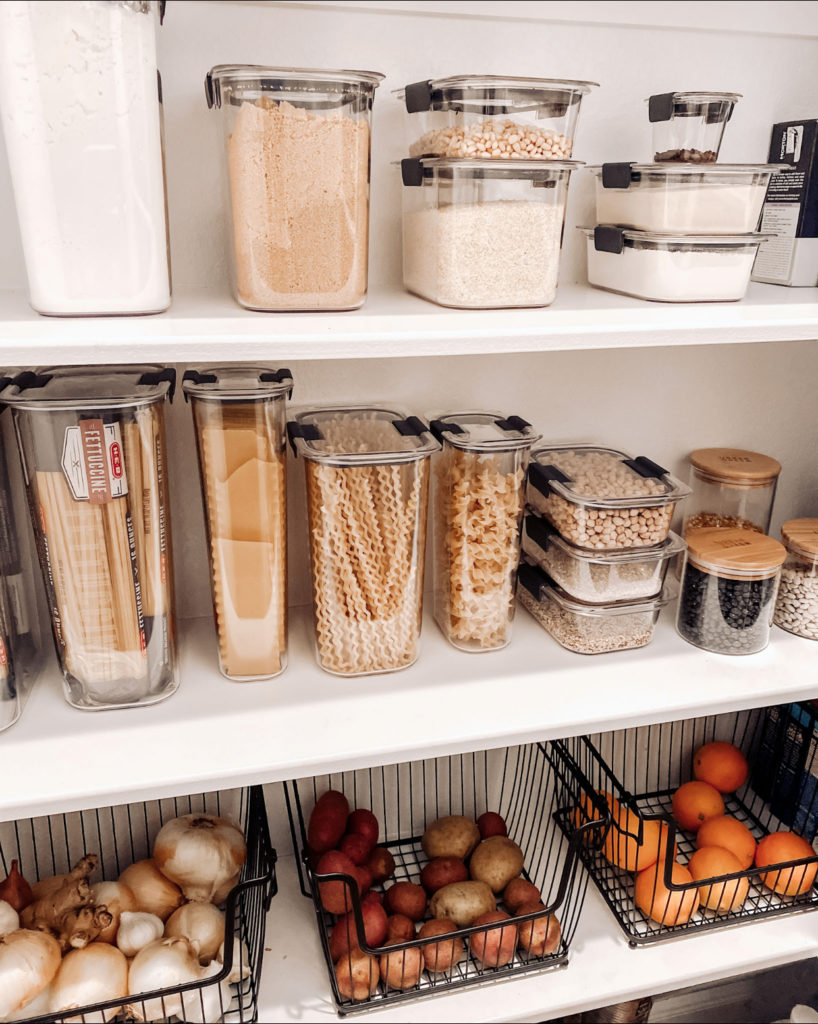
container set | set of 5 containers | jars w/bamboo lids | cereal container | wire metal bins
8. Have an overflow section
This tip is one of the keys to not only having an organized pantry, but keeping an organized pantry.
Having an overflow section in a spare cabinet, your laundry room, etc. allows you a space to keep extra food and supplies once the containers are full.
Sometimes we refill a bin when it gets low (like cereal) and there’s extra still in the original box.
Sometimes we stock up on items in the bulk bins at the grocery store and this is a great place to store those items.
Then when your pantry organizers run low, you have the extra stock to fill them first before buying more at the store. And you’re not stuck running out of items.
When we dip into the overflow section, we add an item to the grocery list.
Our overflow section is the top cabinets right next to the pantry, for easy restocking.
9. Save cooking instructions
We didn’t do this for everything, as we mostly know how to cook everything in our pantry.
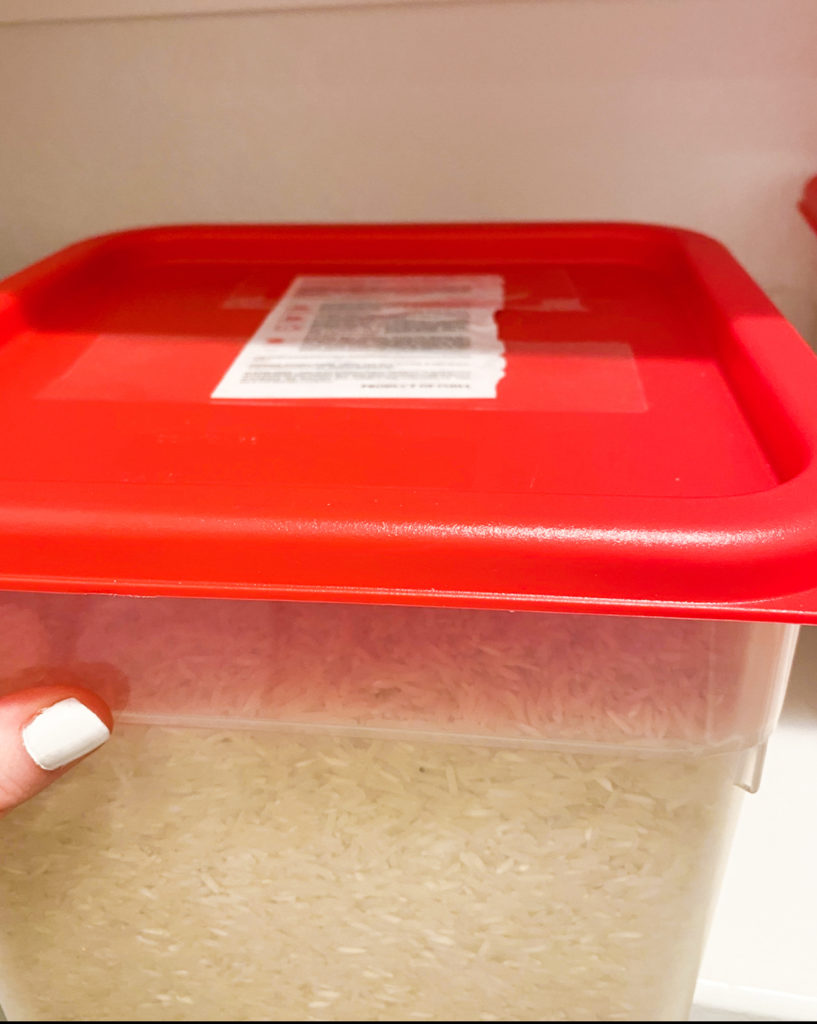
But for a few items, like this rice I cut the instructions off the package and taped them to the top of the container. Once the container is on the shelf, the directions on top can’t be seen.
Doing this on the top, bottom or back of the container is a great way to save the instructions without them being seen.
And this way you know where to find them when you need them.
10. Label
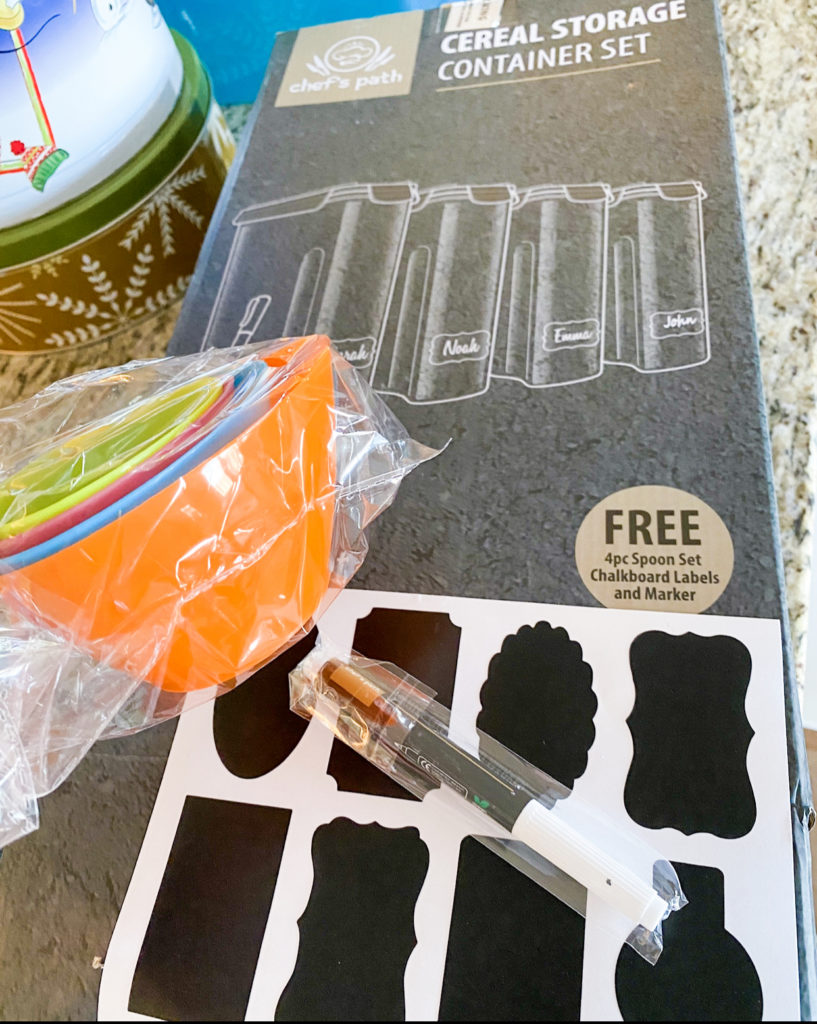
A lot of the packages and containers we purchased came with labels. There are also many label sets available online to buy for your organizers.
We liked a more minimal look without labels so this one is definitely optional, especially if you know what’s in each container.
SHOP THE POST
Which tip did you find most helpful?
Related Content
The Best Pantry Organizers for the Kitchen
Fall Home Decor Ideas from Amazon and Target



Leave a Reply